Curved screens have become increasingly popular in home theaters, professional setups, and immersive environments. They offer enhanced depth perception, a wider field of view, and a cinematic experience that flat screens cannot match. However, projecting onto a curved surface introduces unique challenges, particularly when using short throw projectors. Understanding short throw projector distance and projection throw distance is essential for achieving a clear, undistorted image on a curved screen. Whether you are designing a home theater or replacing an ultra wide monitor with a projection setup, knowing how far the projector should be from the screen ensures the best results.
Why Curved Screens Require Special Consideration
Curved screens change the way light interacts with the projection surface. Unlike flat screens, the distance from the projector lens to different parts of the screen varies. This can affect focus, brightness, and image alignment if not properly accounted for.
Short throw projector distance becomes especially important in this scenario because small variations in distance can cause portions of the image to appear out of focus. Projection throw distance calculations must take the curve into account to ensure that the projected image is consistent across the entire screen.
How Throw Ratio Impacts Curved Screens
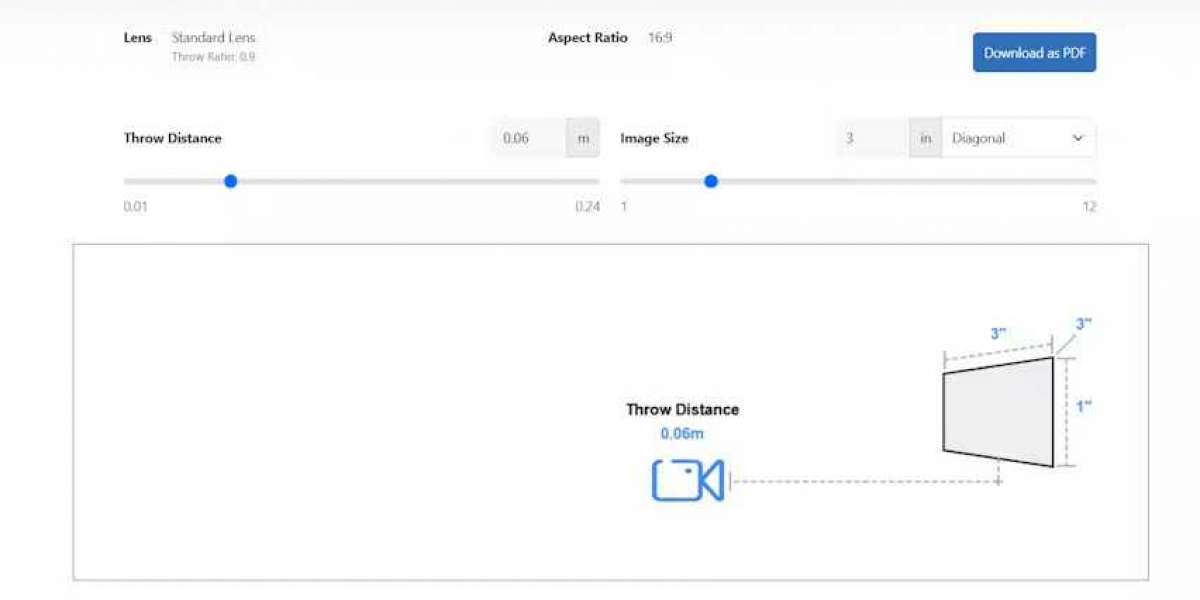
The throw ratio is the relationship between the projector distance and the screen width. It is calculated as:
Throw Ratio = Distance from Projector to Screen ÷ Screen Width
To find how far the projector should be from the screen, use the formula:
Distance = Throw Ratio × Screen Width
For example, a short throw projector with a throw ratio of 0.5 and a screen width of 87 inches would need to be placed 0.5 × 87 = 43.5 inches or about 3.6 feet from the screen.
When using a curved screen, the throw ratio provides a starting point. However, because parts of the screen are closer or farther from the projector, fine adjustments may be necessary. Lens shift, keystone correction, and focus adjustments help compensate for these variations and maintain a sharp image.
Positioning the Projector
Proper projector placement is critical for curved screens. Unlike flat screens, where the distance is uniform, curved screens require the projector to be centered along the screen’s curvature. This ensures that the light hits the screen evenly and reduces distortion.
Ceiling Mount vs Table Mount
Ceiling Mount: Provides stability and keeps the projector out of the way. It is particularly useful for large curved screens where floor placement may create shadows or interfere with the image.
Table Mount: Offers flexibility and easy adjustment. For temporary or small setups, a table mount allows you to fine-tune the distance and angle to match the curve.
Regardless of mounting type, start with the calculated short throw projector distance and adjust slightly to achieve even focus across the screen.
Adjusting Focus for Curved Screens
Focus adjustments are essential for curved screens because different parts of the screen are at different distances from the projector lens. Begin by focusing the center of the image, then make small adjustments to the edges. Some short throw projectors feature advanced lens shift or digital focus capabilities, which are particularly useful for curved screens.
Factors Affecting Projection Quality
1. Screen Size and Curve Radius
Larger screens with tighter curves require more precise adjustments. Measure the screen width and determine the curvature to calculate the average throw distance.
2. Ambient Light
Outdoor or brightly lit rooms can reduce image clarity. Ensure the projector has sufficient lumens and that the short throw projector distance is optimized to maintain brightness.
3. Screen Material
Reflective or high-gain screens help compensate for variations in distance, while matte surfaces may require additional adjustments to focus.
4. Aspect Ratio
If you are replacing an ultra wide monitor with a curved projection setup, ensure the screen and projector support the same aspect ratio to prevent stretching or black bars.
Practical Example
Suppose you have a 100 inch curved screen with a width of 87 inches and a short throw projector with a throw ratio of 0.5.
Calculate the initial distance: 0.5 × 87 = 43.5 inches or about 3.6 feet
Center the projector along the curvature of the screen
Adjust focus to ensure the center and edges are sharp
Fine-tune lens shift or keystone settings to correct any distortion
This method ensures that the projected image remains bright, sharp, and properly aligned across the curved surface.
Tips for Optimal Results
Use a stable mounting solution: Prevents accidental movement that can throw off alignment
Adjust in low ambient light: Helps identify focus and alignment issues more easily
Measure accurately: Use screen width, not diagonal, for calculations
Test with content: Use text and high-contrast images to ensure clarity across the curve
Common Mistakes
Treating the curved screen like a flat screen, leading to focus and distortion issues
Ignoring throw ratio calculations and guessing projector placement
Placing the projector off-center, causing uneven projection across the screen
Relying solely on digital keystone correction instead of physical adjustments
Conclusion
Curved screens offer a unique and immersive viewing experience, but they require careful consideration of short throw projector distance and projection throw distance. By calculating how far the projector should be from the screen, centering the projector, and adjusting focus and lens settings, you can achieve a sharp, evenly projected image.
Whether you are designing a home theater, classroom, or professional presentation space, XTEN-AV provides the tools and guidance to optimize projector placement for curved screens. With proper planning and adjustment, you can enjoy a cinematic and immersive experience that rivals an ultra wide monitor, making the most of your short throw projector setup.
Read more: https://eurls.live/articles/how-to-adjust-focus-and-distance-on-a-short-throw-projector


