Configuring a VPN on Your Meta Quest Headset
Enhance your virtual reality experience by setting up a VPN on your Meta Quest device. A properly configured VPN allows you to bypass geographical restrictions and protect your online privacy while enjoying your favorite VR content.
Why Use a VPN with Meta Quest?
A VPN creates an encrypted connection that masks your actual location, offering several benefits for Quest users:
• Access region-specific content on platforms like Bigscreen
• Play location-restricted games while traveling internationally
• Enhance privacy when using public Wi-Fi networks
• Bypass network restrictions in countries with internet limitations
• Enable VoIP functionality in regions where it's typically blocked
Three Implementation Methods
You can set up a VPN on your Meta Quest using one of these approaches:
- Direct Installation: Sideload the VPN app directly onto your headset
- Computer Hotspot: Share a VPN connection from your computer
- Router Configuration: Install VPN software on your home router
Computer Hotspot Method (Simplest Approach)
This method requires minimal technical knowledge:
- Subscribe to a reputable VPN service (NordVPN, Surfshark, or ExpressVPN work well)
- Install the VPN application on your Windows or Mac computer
- Connect to your desired server location (US servers unlock most content)
- Create a mobile hotspot on your computer to share the VPN connection
- Connect your Quest headset to this protected hotspot
Direct Installation via Sideloading
For a standalone solution without requiring a computer connection:
- Select a VPN provider with Android compatibility
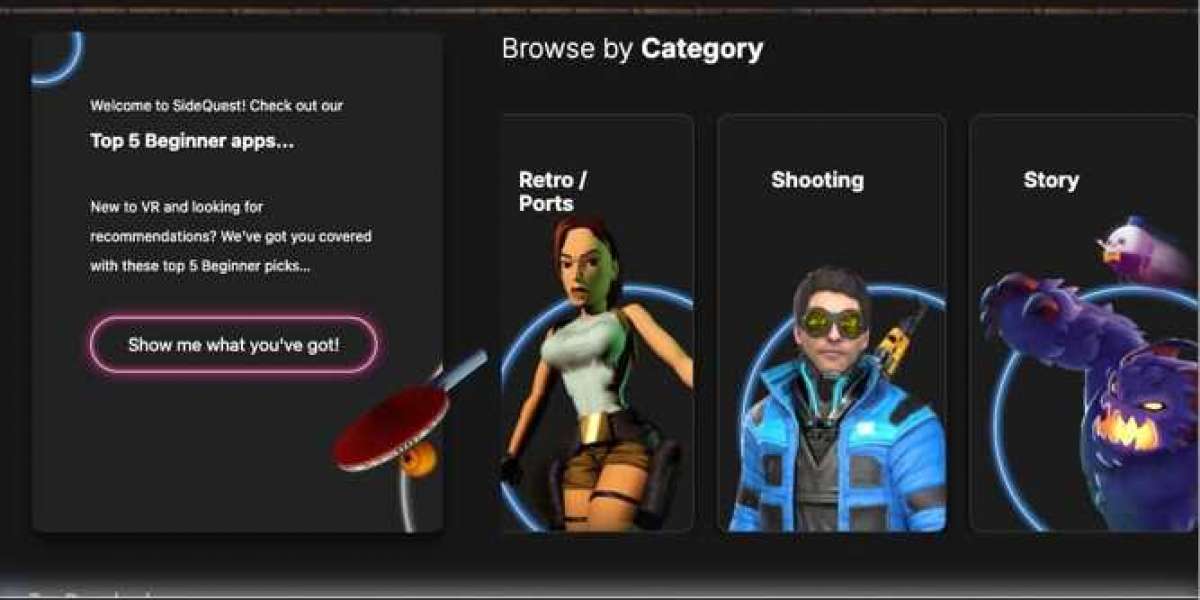
- Install SideQuest on your computer
- Enable Developer Mode on your Quest headset
- Download the VPN's APK file
- Use SideQuest to transfer and install the VPN app
- Launch the VPN directly from your headset's app library
Router-Based Implementation
For whole-home VPN protection:
- Verify your router supports VPN client functionality
- Access your router's administration panel
- Configure VPN client settings with your provider's information
- Connect your Quest to your home Wi-Fi network
Choosing the Right VPN Service
When selecting a VPN for Meta Quest, prioritize:
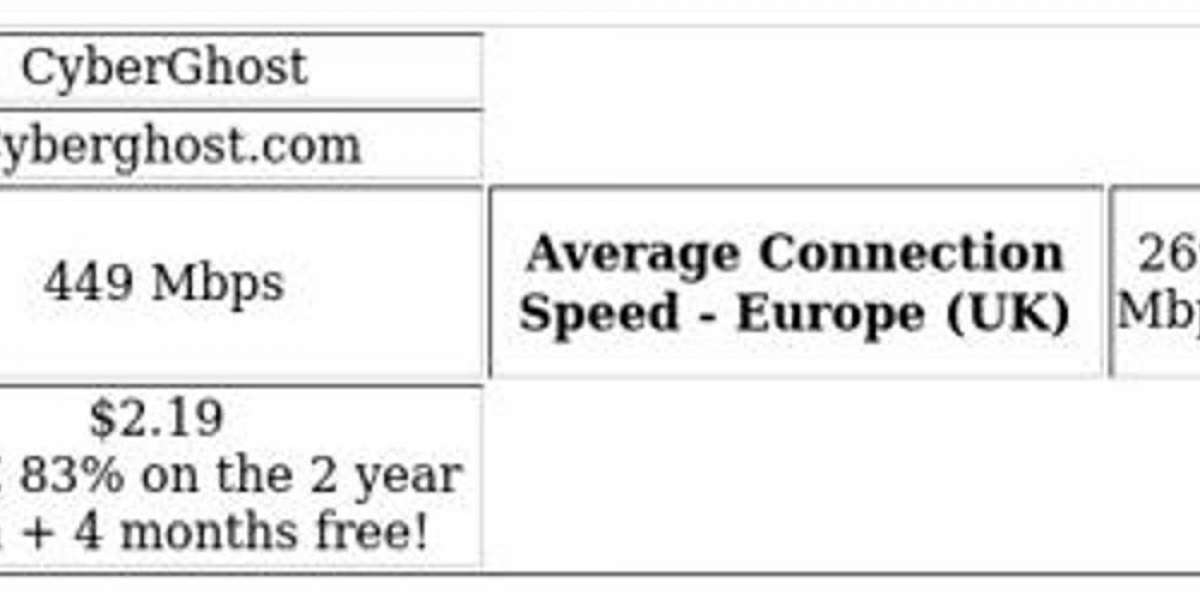
• Connection speed (crucial for smooth VR experiences)
• Server availability in desired locations
• Strong encryption protocols
• No-logs privacy policy
• Compatibility with Android-based systems
With your VPN properly configured, you'll enjoy unrestricted access to VR content regardless of your physical location while maintaining enhanced privacy during your virtual adventures.
To set up a VPN on your Meta Quest, you can use SideQuest to install the Android APK directly onto your device. This method gives you complete control over the VPN and its features, such as switching server locations. However, it will consume some storage space and processing power on your headset.
Steps to Sideload a VPN onto Your Meta Quest:
- Download and install SideQuest on your computer.
- Obtain the APK file for your VPN from Google Play. You can do this through a dedicated website or browser extension.
- Note the location of the APK file on your hard drive.
- Connect your Meta Quest to your PC using a USB-C cable.
- Open SideQuest and select “Install APK file from folder.”
- Find the APK file on your hard drive and authorize SideQuest to install it on your Meta Quest 2 or Quest 3.
- Once the installation is complete, disconnect the USB cable, ensure your headset is powered on, and put it on.
- Go to your app library, click All in the top right corner, and scroll down to Unknown Sources .
- Locate and launch your newly installed VPN.
Some users experience issues logging into NordVPN when sideloading it directly to their Meta Quest. The login process may force the Meta Quest browser to open, and after completing the login, the app may remain logged out. For a smoother experience, consider using ExpressVPN instead.
Alternatively, you can use your browser to install SideQuest and an APK installer directly on your Meta Quest, allowing you to install a VPN without needing a third-party computer. Here’s how:
- Download APK Installer on your Meta Quest.
- Download the Android VPN app directly from your provider’s website. ExpressVPN allows direct APK downloads, making it easy to get the app onto your Meta Quest.
- Press the main power button twice to switch your Meta Quest to standby mode, removing any progress bars that may appear during installation.
- Go to your apps screen, click All in the top right, and scroll down to Unknown Sources .
- Use the APK Installer to locate and install the VPN application’s APK file.
- Your VPN will now be available in the Unknown Sources menu whenever you need to use it.
If you want to protect all devices in your home with a VPN, consider configuring a VPN connection on your router. Not all routers are compatible, so check online to see if yours supports VPNs. If not, you might be able to replace the router’s firmware with something like DD-WRT or Tomato.
Setting up a VPN on your router involves filling out forms in the router admin panel and installing the configuration file for the desired server. This file can be downloaded from your VPN provider’s members’ area.
Flashing a router with new firmware is not overly complex but does carry risks. It usually voids the warranty, and a mistake could render the router unusable. If this seems too risky, consider purchasing a pre-configured VPN router from FlashRouters, which simplifies the process of sharing a VPN connection from the router to your Meta Quest.
To set up a VPN on your Meta Quest, you first need to share the connection from a router. Here’s how:
Download OpenVPN configuration files from your chosen VPN provider's site and remember where they are saved. Next, access your router's admin panel through a web browser using the router's IP address, which is typically 192.168.0.1 or 192.168.1.1, but check your manual for specifics. If you haven’t changed them, use the default login credentials, which can be found on websites like routerpasswords.com.
Once logged in, it’s wise to update the password for enhanced security. Navigate to the router's VPN settings, which vary by model. Choose Add Profile , select the OpenVPN option, and input required details such as username, password, and any shared secret. Then, locate and install the OpenVPN config file downloaded earlier.
In the router’s VPN menu, you should now see an option to connect to the VPN. This process may differ based on your router model and firmware, so refer to your provider’s setup guides or live chat support for detailed instructions.
Using a free VPN with your Meta Quest might not be ideal due to performance and security issues. Free plans often have limited server access, slow speeds, and restrictions on streaming services like Netflix. They also frequently lack robust encryption, have weak privacy policies, and may sell your data. For reliable and secure streaming, gaming, and unblocking content, consider a paid VPN service, which offers better protection and features, including a 30-day money-back guarantee.
For example, if you want to play Vegas Infinite (formerly PokerStars VR) while traveling, a VPN can help. Connect to a US or UK server to bypass regional blocks and enjoy the game. Similarly, to watch region-locked content on Bigscreen, connect to a US server to access a wider range of 3D movies and channels.
Meta Quest headsets are available in many countries, but app and content availability varies. A VPN can unblock these restrictions, allowing you to access more content. For instance, if you're on vacation and want to play the fitness game Supernatural, connecting to a US server will enable you to do so.
What is a Netflix VPN and How to Get One
A Netflix VPN is a specialized virtual private network service that enables viewers to bypass geographical restrictions on Netflix's streaming library, allowing access to shows and movies that might only be available in certain countries. By routing your internet connection through servers located in different regions, a Netflix VPN effectively masks your actual location, tricking the streaming platform into displaying content catalogs from other territories that might offer more extensive or different programming options than what's available in your home country.
Why Choose SafeShell as Your Netflix VPN?
If you're facing issues with your Netflix vpn not working due to outdated software or geo-restriction barriers, SafeShell VPN offers a superior alternative.
- SafeShell VPN bypasses Netflix's detection systems with specialized high-speed servers that eliminate buffering and enable 4K streaming, even during peak hours.
- Unlike services that limit connectivity, SafeShell supports 5 simultaneous device connections across platforms like Apple TV, Android TV, and smartphones, letting your entire household stream region-specific content.
- Its unique App Mode breaks regional boundaries by allowing access to multiple Netflix libraries at once, solving content availability gaps caused by traditional VPNs.
- The ShellGuard protocol ensures military-grade encryption, shielding your streaming activity from ISP throttling and data leaks while maintaining connection speeds over 300 Mbps.
- Users can test these features risk-free through SafeShell's flexible trial plan, which provides full access to all premium tools without upfront payment.
By prioritizing speed, multi-device flexibility, and unbreakable security, SafeShell VPN redefines what a Netflix-optimized VPN should deliver.
A Step-by-Step Guide to Watch Netflix with SafeShell VPN
Unlocking global Netflix content is easier than ever with SafeShell Netflix VPN , a powerful tool designed to bypass geographical restrictions. To begin your unrestricted streaming journey, first visit SafeShell's official website and select a subscription plan that aligns with your viewing habits and budget constraints. After completing your purchase, download the appropriate application for your device—whether you're using Windows, macOS, iOS, or Android—directly from the SafeShell website.
Once installation is complete, launch the SafeShell Netflix VPN application and log into your account using your credentials. For optimal streaming performance, select the APP mode when prompted to choose your connection type. Next, browse through the server list and select a location in your desired content region—popular choices include servers in the United States, United Kingdom, or Canada depending on which shows or movies you're hoping to access.
With your VPN connection established through SafeShell, simply open your Netflix application or navigate to the Netflix website in your browser. Log in with your existing Netflix credentials, and you'll immediately notice that the content library has changed to reflect what's available in your chosen region. The SafeShell Netflix VPN maintains high-speed connections that ensure buffer-free streaming while keeping your online activities private and secure from prying eyes.