If you’ve ever dreamed of capturing the essence of Goku, the beloved Saiyan warrior from Dragon Ball, this guide will walk you through the process. Whether you are a budding artist or a passionate fan, this easy tutorial is designed to show you how to draw Goku in a way that’s approachable, enjoyable, and true to his iconic look.
Understanding Goku's Style
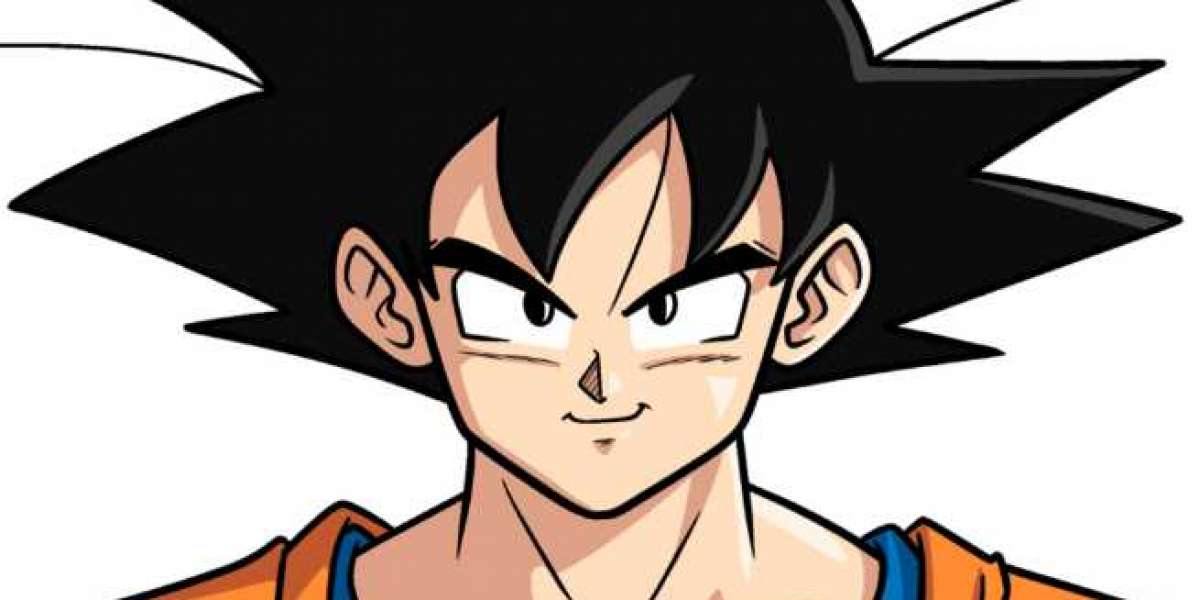
Before picking up your pencil, it’s important to understand what makes Goku such a recognizable character. His spiky hair, determined eyes, and strong yet friendly facial expressions all contribute to his iconic appearance. By breaking these features down into manageable steps, even beginners can successfully learn how to draw Goku.
Gather Your Drawing Tools
To begin your drawing journey, gather some basic supplies. A pencil with an eraser, some smooth drawing paper, and optional colored pencils or markers will be sufficient. Make sure you have a comfortable space to work in and enough lighting to see your lines clearly.
Step 1: Sketch the Basic Head Shape
Start by lightly sketching an oval for the shape of Goku’s head. Add a vertical guideline down the middle and a horizontal one across the middle. These guidelines help with placing the facial features symmetrically. Goku’s chin is a bit angular, so adjust the lower portion of the oval to reflect this structure.
Step 2: Draw the Eyes and Eyebrows
Next, sketch in Goku’s eyes slightly below the center of the face. His eyes are almond-shaped with a sharp look, showcasing his determined nature. Above his eyes, draw thick, slightly curved eyebrows. These give Goku his intense expression. Don’t forget to leave enough space between the eyes and eyebrows to reflect his animated style.
Step 3: Add the Nose and Mouth
Goku’s nose is small and simple, often represented by a short vertical line or a small shadow. Draw it lightly in the center of the face. For the mouth, sketch a simple curved line, slightly off-center, with a small dip or tooth showing if you want to add more emotion.
Step 4: Shape the Face and Ears
Refine the shape of Goku’s jawline and chin, giving it a slightly pointed look. Add ears on both sides of the head, aligning them with the eyes. Inside the ears, sketch simple curves to represent inner ear detail.
Step 5: Create the Spiky Hair
One of the most iconic features when learning how to draw Goku is his gravity-defying spiky hair. Start from the top center of the head and draw sharp, curved spikes that fan outwards. Make sure the spikes vary in size and direction, giving them a dynamic and wild look. This step may take some trial and error, so don’t hesitate to erase and adjust as needed.
Step 6: Outline the Neck and Shoulders
Draw two lines downward from the bottom of the head for the neck. Goku has a strong, muscular build, so make sure the neck appears thick and firm. From there, sketch his trapezoid-shaped shoulders, and add a part of his iconic outfit — the sleeveless Gi — with broad, angular lines to represent the upper torso.
Step 7: Add Clothing Details
Goku’s Gi includes a V-shaped neckline, a belt tied around the waist, and a flowing appearance. You can sketch the folds of the fabric using curved lines and add subtle shading for depth. If you want to include his wristbands, draw them as thick horizontal lines just above where the forearms would begin.
Step 8: Clean Up the Sketch
Now that the major parts of your drawing are complete, erase any unnecessary guidelines and overlapping lines. Clean up the face and hair details, and make sure everything looks smooth and proportionate. Take a moment to refine areas that seem off and adjust where needed.
Step 9: Inking the Final Lines
If you’re happy with your pencil sketch, go over the final lines using a fine ink pen or darker pencil. Be sure to follow the outline carefully and avoid inking any stray or construction lines. Once the ink is dry, gently erase the pencil marks beneath to reveal a clean, bold illustration of Goku.
Step 10: Add Color for Extra Impact
To bring your drawing to life, consider adding color. Goku’s hair is typically black or golden if he’s in Super Saiyan form. His outfit is orange with a blue undershirt and belt. Use your choice of coloring tools to fill in the drawing, and add shading for more dimension. Lightly shade the muscles and folds in the clothing to give your artwork depth and realism.
Practice Makes Perfect
Learning how to draw Goku takes practice, so don’t get discouraged if your first attempt isn’t perfect. Every time you draw him, you’ll improve your understanding of his proportions, features, and style. Try sketching him in different poses or expressions to build confidence and skill.
Conclusion
Mastering how to draw Goku is a rewarding experience for any Dragon Ball fan. With patience, the right steps, and a bit of creativity, you can bring the legendary Saiyan to life on paper. Keep practicing, stay inspired, and enjoy every moment of your artistic journey.